
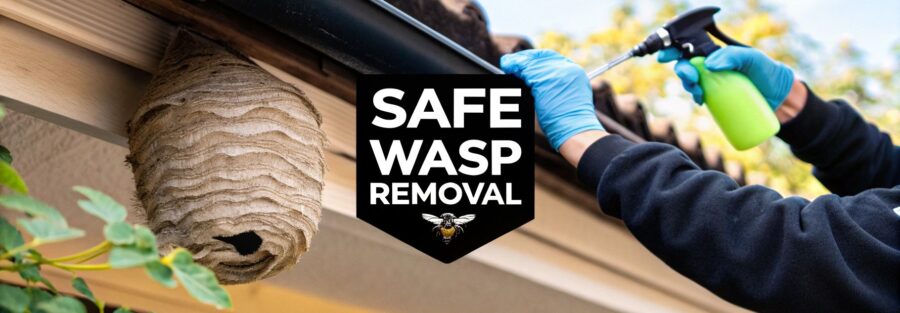
Before you even think about tackling a wasp nest, it’s crucial to understand exactly what you’re up against. This is about more than just grabbing a can of spray; getting it wrong can be incredibly dangerous. The key is to correctly identify the wasp, figure out when they’re least active (usually around dusk or dawn), and properly assess the nest’s size and location.
Understanding the Threat: Wasp Nests in the UK
So, what are we actually dealing with? In the UK, the wasps causing most of the grief in our gardens are the Common Wasp (Vespula vulgaris) and the German Wasp (Vespula germanica). They look pretty similar, but knowing they're around is the first step.
If you’re not sure what’s buzzing about your property, our guide can help you identify flying insects in the UK.
These are social insects with a very predictable annual cycle. A lone queen wakes up from hibernation in spring, starts building a new nest from chewed-up wood pulp, and lays her first batch of eggs. These hatch into sterile female workers. As summer kicks in, this workforce explodes. A fully mature nest can house anywhere from 3,000 to 10,000 wasps.
Why Some Summers Are Worse Than Others
Ever felt like some years are an absolute wasp nightmare while others are quite peaceful? You’re not imagining it. It all comes down to the weather.
Wasp populations can swing wildly from one year to the next. A cool, rainy spring and summer, for example, can seriously hamper their lifecycle, resulting in far fewer nests. We see this firsthand in our callout numbers, which plummet during those wetter seasons. It’s a direct link that shows just how much the weather dictates our pest problems. This means you never really know if it’s going to be a "bad" wasp year until you're right in the middle of it.
The Real Risks of a Wasp Nest
Let’s be honest, the main fear is the sting. Unlike bees, which can only sting once, wasps are capable of stinging repeatedly. And they absolutely will if they think their nest is under threat. Disturb a nest, and you could trigger a full-blown swarm attack—a situation that is genuinely dangerous.
The biggest danger isn't just getting stung multiple times. It's the risk of anaphylaxis—a severe and potentially fatal allergic reaction. Even if you've been stung before with no major issues, a serious allergy can develop at any point in your life.
Knowing these facts is vital. It helps you move from a panicked "get them gone now" mindset to forming a calm, sensible plan. It allows you to realistically judge whether a DIY attempt is a safe bet or if it’s time to call in the professionals.
Pinpointing the Problem: How to Locate a Wasp Nest
Before you can even think about tackling a wasp nest, you have to find it first. Sounds simple, right? But pinpointing the exact location is a job that requires a bit of patience and, most importantly, a safe distance. Never, ever get too close. Your best tool for this job is good old-fashioned observation.
The trick is to watch their flight paths. Find a spot where you see them buzzing around a lot—maybe near your bins or a flowerbed—and just watch where they go. Wasps are creatures of habit, flying a direct route back to the nest after they’ve been out foraging. Think of it like a busy flight path to an airport; by tracking this "commuter traffic," you can usually trace them right back to their front door.
It's best to do this in the middle of the day when wasp activity is at its absolute peak. You're looking for a constant, steady stream of them entering and exiting the same spot. This is the dead giveaway that you've found the nest entrance, not just a random wasp looking for a snack.
Common Hiding Spots to Check
Wasps are experts at finding sheltered, out-of-the-way places to build their homes. They want somewhere protected from rain and predators. When you're on the hunt, focus your search on these classic hideouts:
- Under the eaves of your roof: This is prime real estate for a wasp nest.
- In lofts and attics: Dark, quiet, and rarely disturbed—it’s a perfect setup.
- Tucked away in sheds or garages: Check the corners and high up in the rafters.
- Behind wall cladding: Any small gap is an open invitation for them to move in.
- Inside wall cavities: They'll often get in through air bricks or tiny holes in the mortar.
- In the ground: Some species, like yellowjackets, love making nests in old rodent burrows.
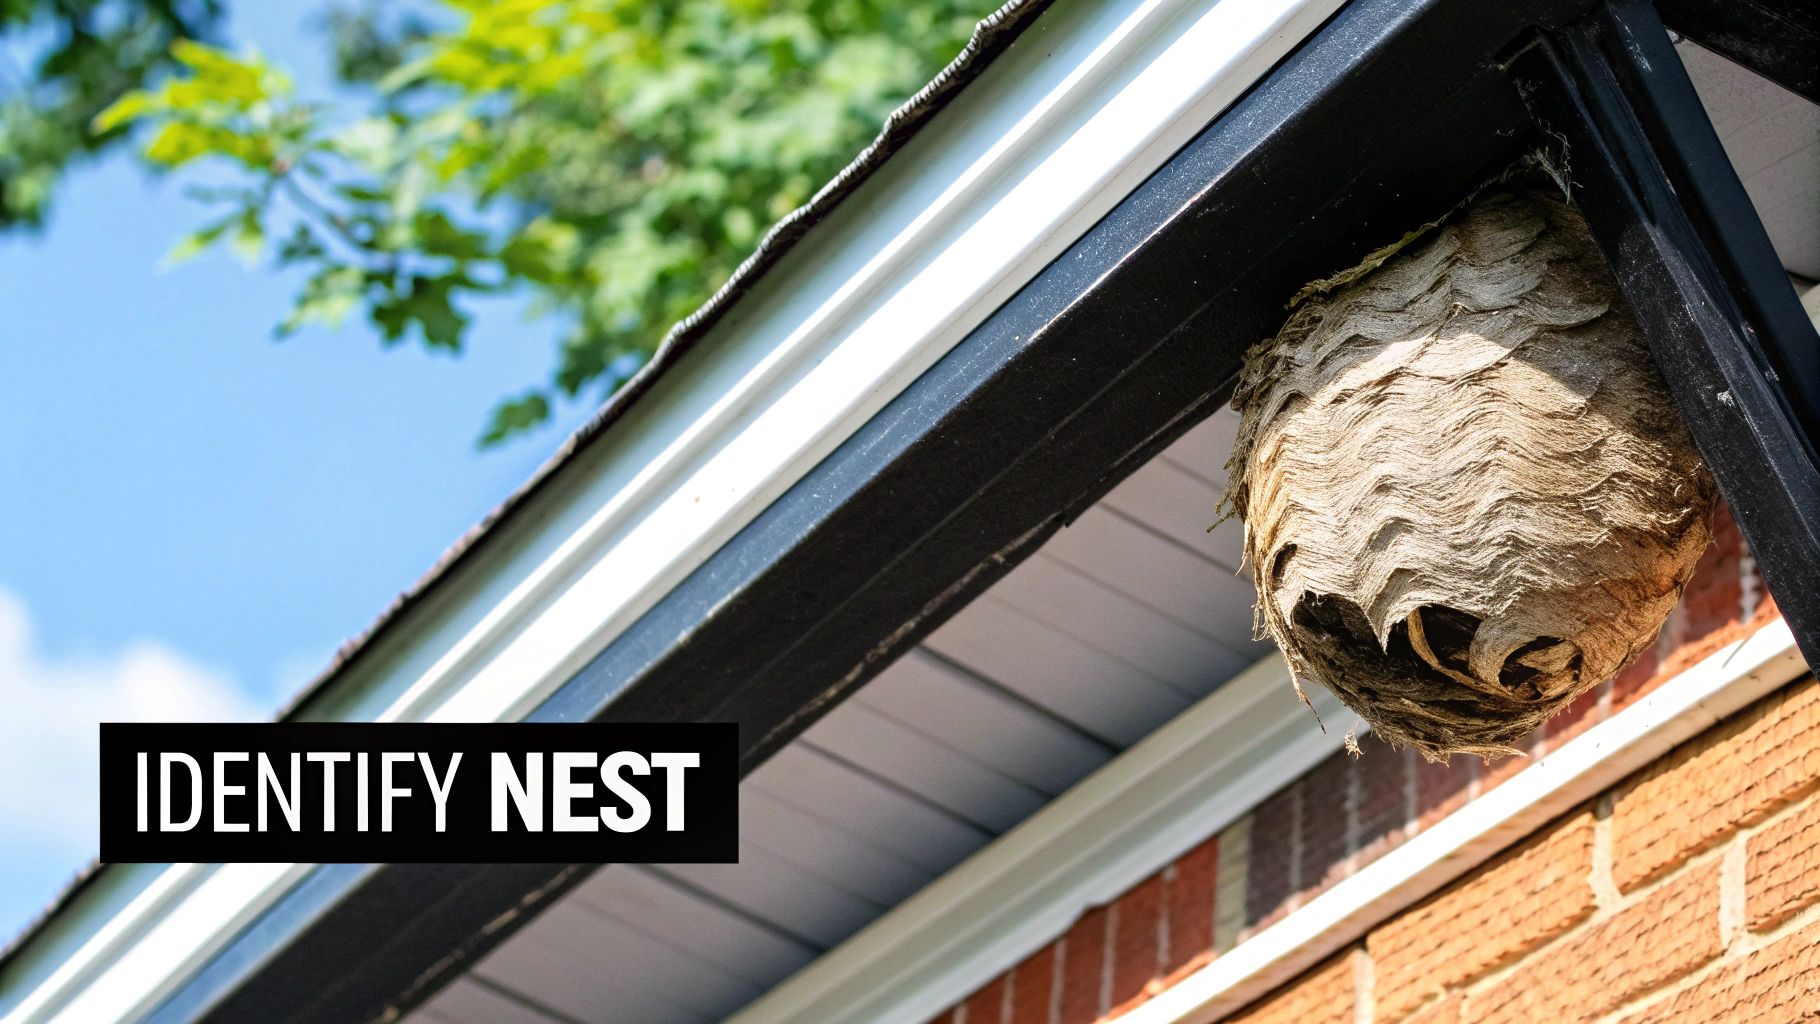
The nest itself has a very distinct look. It’s a greyish, papery structure made from chewed-up wood pulp mixed with saliva, often with a swirly, layered pattern. A nest just starting out in spring might only be the size of a golf ball, but by late summer, a mature one can easily be bigger than a football.
Crucial Distinction: Wasps vs. Solitary Bees
It's incredibly important not to mistake a wasp nest for the activity of beneficial solitary bees. Mason bees, for instance, might use small holes in your brickwork, but they don't form huge, aggressive colonies. They're vital pollinators and should be left in peace. The key difference is the traffic: wasps have a constant, busy flow in and out of one entrance, whereas bee activity is much more sporadic and individual.
Once you’ve got a confirmed visual on the nest entrance and have a rough idea of its size and where it is, you can start planning your next move. A nest tucked deep inside a wall cavity, for example, is a much trickier situation than one hanging in a shed. Knowing exactly what and where the problem is prepares you for the challenge ahead.
Choosing Your Approach: DIY vs Professional Removal

So, you’ve found the nest. Now comes the critical decision: do you tackle this yourself, or is it time to call in an expert? This isn't a choice to make lightly. Get it wrong, and you could be facing a swarm of very angry wasps and a lot of painful stings.
The right path really depends on your specific situation.
Going the DIY route can seem like a good way to save a few pounds, but I only ever recommend it under a very strict set of conditions. If the nest is tiny—we’re talking no bigger than a golf ball—and you've spotted it early in the season (think late spring), it might just be manageable.
Even then, location is everything. It absolutely must be at ground level, easy to get to, and have a clear, immediate escape route for you to run. No ladders, no awkward leaning, no exceptions.
When DIY Is A Definite No-Go
There are some clear red flags that immediately rule out a DIY attempt. In these scenarios, the risk is simply too high, and your only safe move is to pick up the phone and call a professional pest controller.
- Large, established nests: Anything bigger than a tennis ball is a serious problem. A nest you’ve only just noticed in mid to late summer will be home to thousands of wasps, all ready to defend their queen.
- Hidden or awkward locations: If the nest is tucked away inside a wall cavity, in the loft, under roof tiles, or high up in a tree, you won't be able to treat it safely or effectively without specialist gear.
- Known allergies: This one is non-negotiable. If anyone in your home has a known or even suspected allergy to wasp stings, do not go anywhere near it. The risk of anaphylactic shock is severe and can be life-threatening.
The Professional Advantage
There’s a reason more and more people are turning to professional pest control. Experts know exactly how wasps behave and have access to professional-grade insecticides that are far more powerful and effective than anything you can buy in a shop.
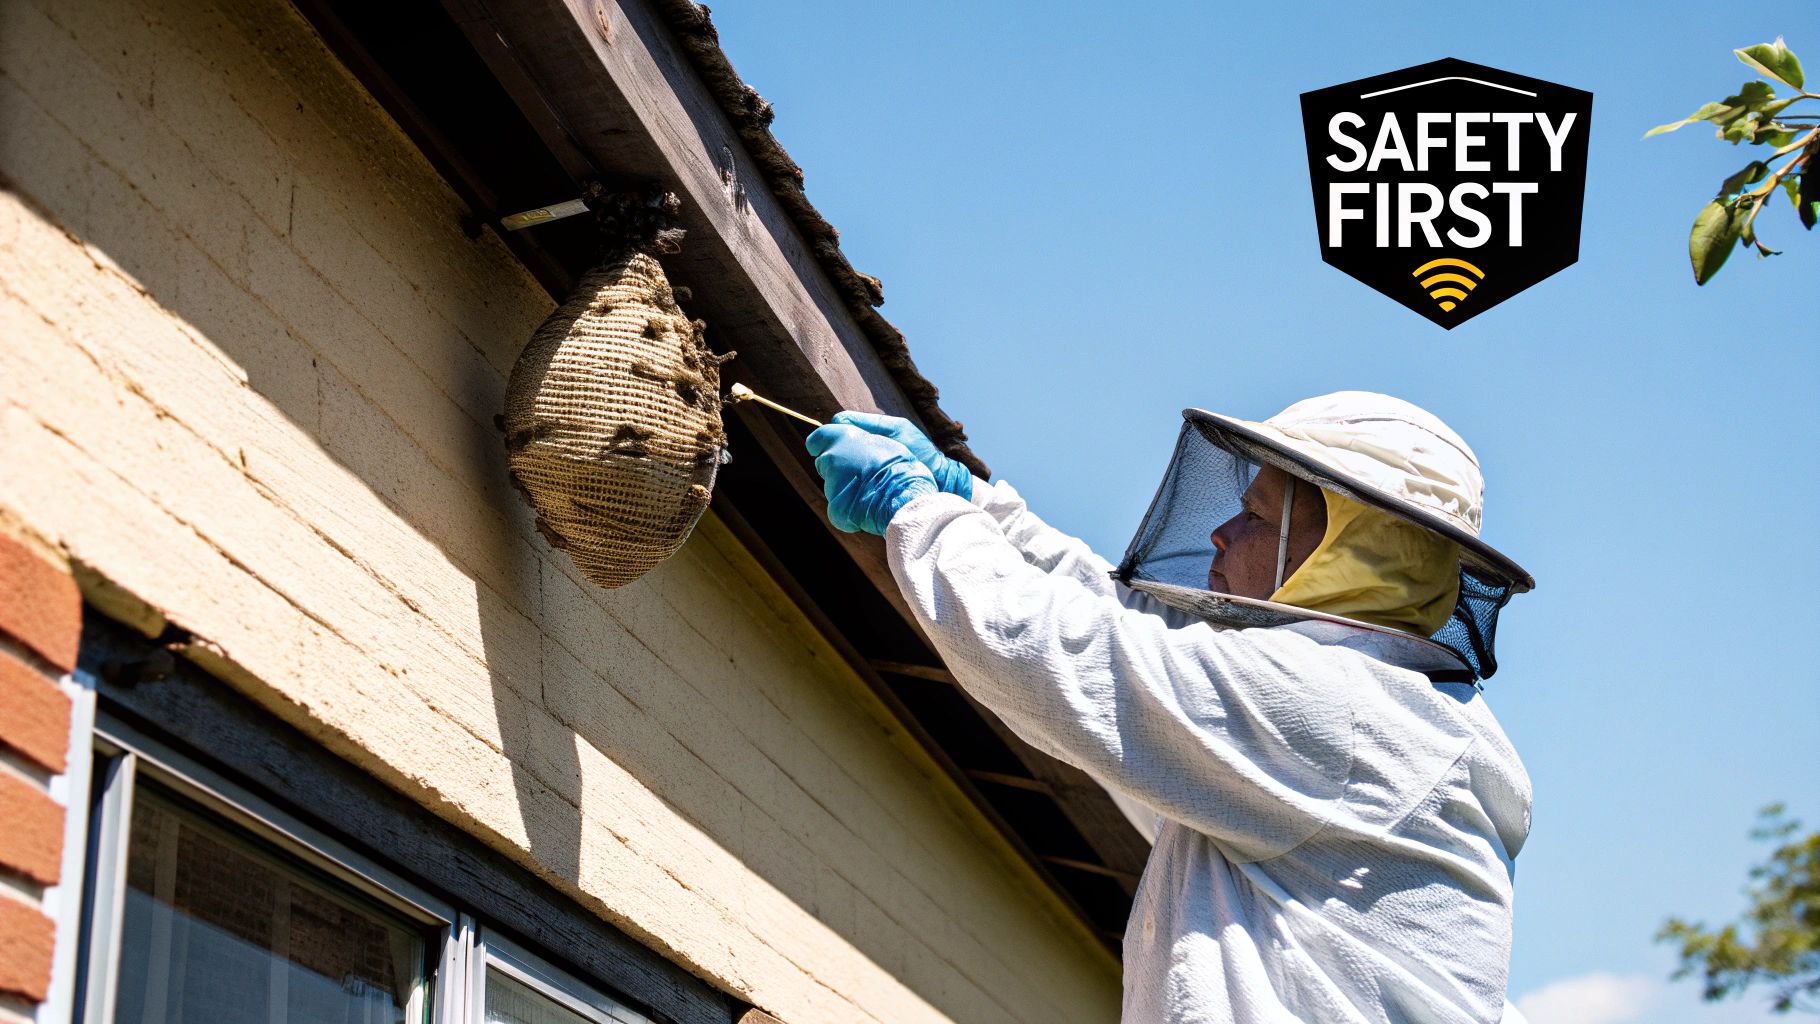
A trained technician does more than just spray a nest; they assess the whole situation to make sure the problem is handled completely and safely.
They arrive with the right protective gear and equipment, like telescopic lances that allow them to treat nests from a safe distance. This is a crucial safety factor you just can’t replicate on your own.
Deciding between a DIY approach and calling in the experts can feel tricky. To make it clearer, here’s a straightforward comparison of what to expect from each option.
DIY vs Professional Wasp Nest Removal: A Comparison
| Factor | DIY Method | Professional Service |
|---|---|---|
| Safety Risk | High. Risk of multiple stings, allergic reactions, and falls. | Very Low. Technicians have full protective gear and training. |
| Effectiveness | Often low. Store-bought sprays may not penetrate the nest or kill the queen. | High. Professional-grade insecticides ensure the entire colony is eliminated. |
| Cost | Low initial cost for a can of spray (£5-£15). | Higher initial cost (£50-£150+), but often includes a guarantee. |
| Equipment | Limited to what you can buy over the counter. | Specialist equipment, including extension lances and professional-grade gear. |
| Time & Effort | Requires your time for planning, execution, and potential re-treatment. | Quick and efficient. Most treatments are completed in a single visit. |
| Guarantee | None. If it fails, you're back to square one and out of pocket. | Most reputable companies offer a guarantee that the nest will be destroyed. |
Ultimately, choosing a professional service is about buying peace of mind and a guaranteed result. A can of wasp spray might only cost a few pounds, but a failed DIY attempt can easily lead to multiple stings, property damage, and an even angrier, still-active nest.
If you're looking for qualified experts for home maintenance tasks like this, exploring local handyman services can be a useful start. For specialist pest control, you can see our full range of services here: https://www.pestpredatorslimited.co.uk/pest-control-services/
Your Guide to Safe DIY Wasp Nest Treatment
So, you’ve checked out the nest, weighed up the risks, and feel confident you can tackle it yourself. Good. The key to a successful DIY job isn't just getting rid of the wasps; it's doing it without getting a single sting. This means gearing up properly and, most importantly, choosing your moment with almost military precision.
First things first: protective clothing. Don't even think about doing this in a t-shirt and shorts. At the very bare minimum, you need thick, long-sleeved clothing, trousers, fully enclosed shoes, and decent gloves. You'll also need to cover your head and neck – a hooded jacket pulled tight or a hat with some netting will do the trick. The goal is simple: leave no skin exposed.
Choosing the Perfect Time to Strike
Timing is everything. In fact, it's probably the single most critical factor in doing this safely. Most people who try and fail get stung because they went in at the wrong time of day. You absolutely must treat the nest when the wasps are least active and the whole colony is tucked up inside.
Your window of opportunity is either very early in the morning, right around sunrise, or late in the evening at dusk. At these times, the cooler air makes them sluggish and far less aggressive. Trying to attack a nest in the middle of a warm afternoon when wasps are furiously flying in and out is just asking for trouble.
This infographic lays out the three golden rules for picking the right moment.
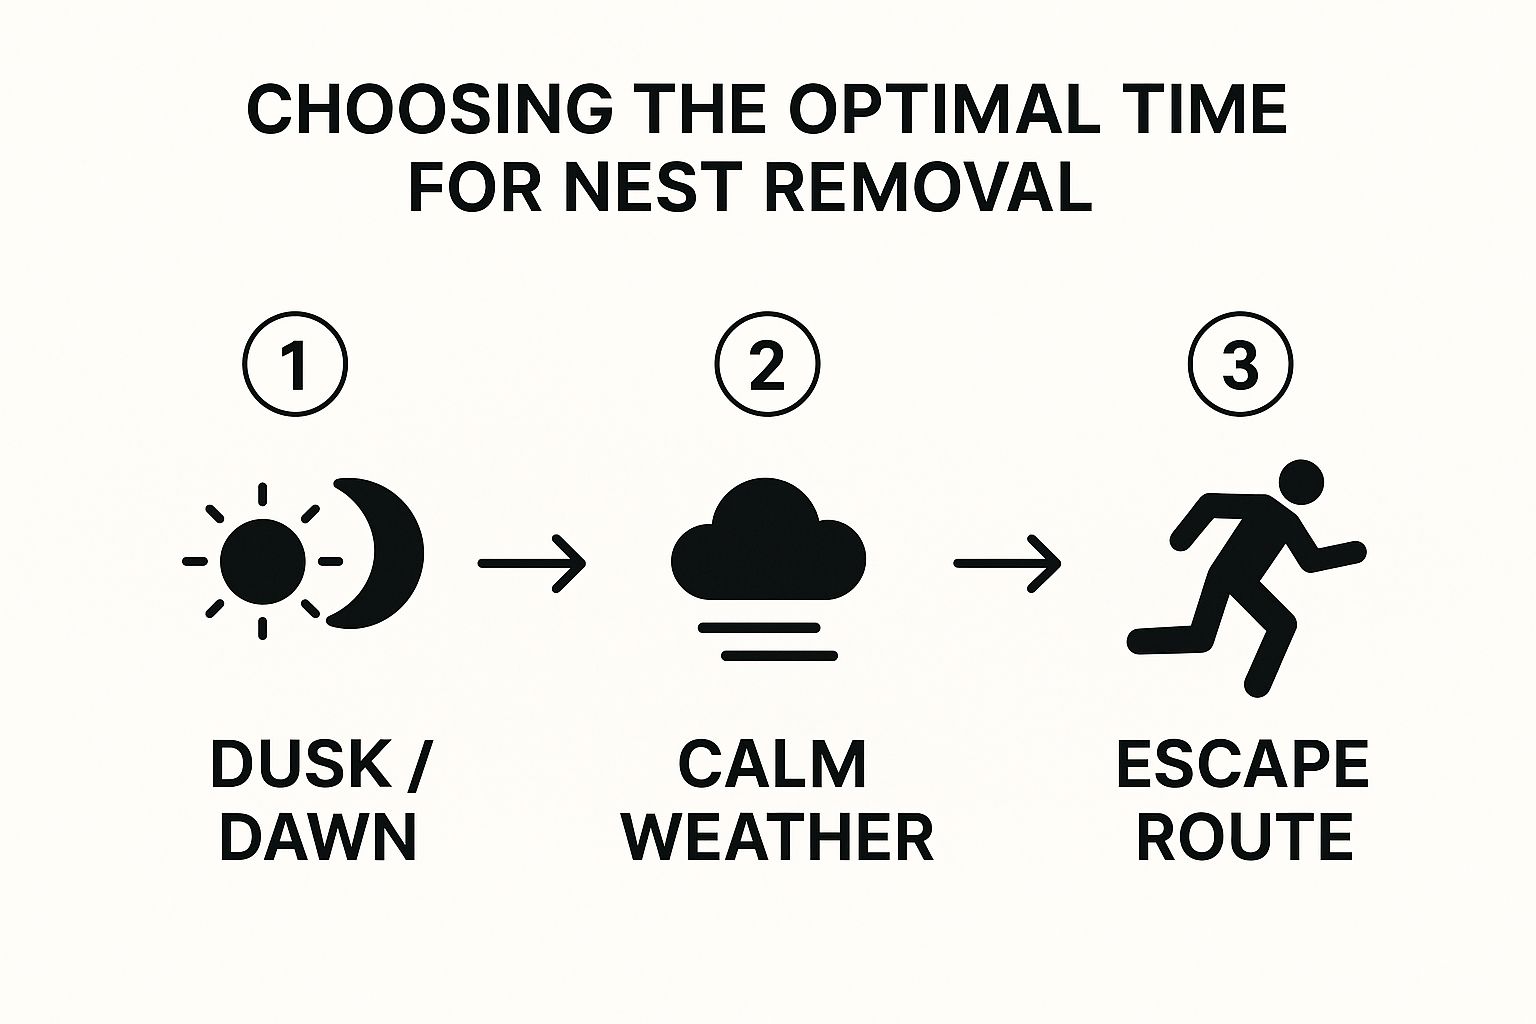
As you can see, it’s not just about the time on the clock. Calm weather and knowing your escape route are just as vital for a smooth operation.
Applying the Treatment Correctly
Right, you're kitted out and the time is perfect. It's go time. Whether you're using a wasp killer powder or an aerosol spray, the basic technique is the same. Your mission is to get the insecticide applied directly into the entrance of the nest.
Pro Tip: Before you even think about approaching, double-check your escape route. Make sure it's completely clear of any trip hazards like garden hoses, kids' toys, or patio furniture. You need to be able to back away quickly and safely.
Here’s the plan:
- Approach Calmly: Move slowly and deliberately. If it's dark, avoid shining a bright torch directly at the nest, as this will only alarm and agitate the wasps. A headlamp with a red-light function is a much smarter choice.
- Target the Entrance: Get yourself into a position where you have a clear, straight shot at the nest's main entrance. This is usually a single hole at the bottom.
- Apply Generously: If you’re using powder, puff a good amount directly into the hole. For sprays, use the little extension nozzle if one is provided and spray straight into the entrance for a solid 5-10 seconds. You want to coat the inside of the entrance so any returning wasps will track the insecticide deep into the nest.
- Retreat Immediately: Don't hang about to admire your handiwork. As soon as the treatment is applied, calmly but quickly walk away along that clear escape route you planned.
What Happens Next
Now comes the hard part: waiting. It's crucial that you leave the nest completely alone for at least 24 to 48 hours. You’ll probably see some confused or dying wasps near the entrance – that's a good sign it's working. Whatever you do, resist the urge to get a closer look or to try and knock the nest down. The forager wasps returning from outside need to enter the treated nest to spread the insecticide throughout the colony and ensure the queen is eliminated.
What to Expect When You Hire a Professional
So, you’ve decided the DIY route isn’t for you. That’s a smart move. Calling in an expert is hands-down the safest and most effective way to deal with a wasp nest, especially if it’s large, hidden away, or in a tricky spot like high up in the eaves. But what actually happens when the technician turns up?
It all starts with that first phone call. A good pest control company won’t just take your address; they’ll ask pointed questions. Where is the nest? Roughly how big is it? How long have you been seeing wasps? This is your opportunity to vet them, too. Don't be shy about asking if they are members of a recognised trade body, like the British Pest Control Association (BPCA). This is a good indicator that they’re properly trained, insured, and follow a strict code of conduct.
The Tools and Techniques of the Trade
The difference between a professional job and a DIY attempt often comes down to the gear. Technicians arrive with specialist equipment that you simply can't buy at a hardware shop.
- Extension Lances: For those nests tucked right up under the roofline or high in a tree, they use telescopic lances. This lets them apply the treatment safely from the ground, well out of harm's way.
- Professional-Grade Insecticides: The products in their arsenal are far more powerful than anything available to the public. They’re designed for a swift, total colony collapse.
- Full Protective Gear: You’ll see them kitted out in multi-layered suits, veils, and gloves. This gear allows them to work right up close to an angry nest without risking a single sting.
If you decide to bring in an expert, knowing how to choose professional contractors can help you pick a reputable company. It’s a worthwhile investment in safety and peace of mind. You only have to look at how unpredictable infestations can be. Recent weather patterns, for example, led to a staggering 600% surge in wasp-related callouts in a single year.
Post-Treatment Expectations and Nest Removal
Once the insecticide has been applied, the technician will walk you through what comes next. It’s important to know that you’ll probably still see wasp activity for up to 48 hours. This is completely normal. It’s the foraging wasps returning to the nest and coming into contact with the treatment, which is a crucial step in wiping out the entire colony.
A question we get all the time is, "Will you take the nest away?" In most cases, the answer is no. Once the colony is dead, the nest is just a harmless, papery shell. It will naturally break down over time, and because wasps never reuse an old nest, it poses no threat. Trying to remove it, especially from a wall cavity or deep in a loft, could cause a lot of unnecessary structural damage.
The cost for this kind of expert service is often more affordable than people imagine. For a clearer idea of the investment, take a look at our detailed guide on wasp nest removal costs.
Your Top Wasp Nest Questions, Answered
Even when you know what to do, it's normal to have a few lingering questions. When you're dealing with wasps, a little knowledge goes a long way in giving you peace of mind and keeping your property safe in the future.
We get asked these questions all the time, so let's clear up some of the most common queries we hear from homeowners.
Will Wasps Return to an Old Nest Next Year?
This is easily the number one question we're asked, and the answer is a firm no. Wasp colonies are a one-season affair. The queen who built the nest and all her workers die off in the autumn, and a new queen emerging from hibernation the following spring will always start a brand-new nest from scratch.
However, just because they won't reuse the nest doesn't mean they won't reuse the location. A spot that offered good shelter once—like a protected roof eave, a quiet loft, or a cavity wall—is just as appealing to the next queen looking for a home. That’s why sealing up potential entry points after we’ve treated a nest is such a critical step in preventing future problems.
Is It Safe to Leave a Small Wasp Nest Alone?
This one is all about location, location, location. If you spot a small, golf-ball-sized nest tucked away at the bottom of a large garden, far from any paths or play areas, you can probably leave it be. Wasps are, after all, excellent predators and help control garden pests like caterpillars.
The game changes entirely if that same small nest is near your back door, on your child's playhouse, or hanging over the patio. In these high-traffic spots, even a tiny colony is a risk. Those small nests grow incredibly fast, and the colony will only become more defensive and aggressive as it expands.
What Should I Do If I Get Stung?
First thing's first: move away from the nest area. Do it calmly. Waving your arms and panicking will only get other wasps agitated and could lead to more stings. Once you're safely away, you can deal with the sting itself.
- Clean the Area: Gently wash the sting with soap and cool water.
- Bring Down the Swelling: Apply a cold compress—an ice pack wrapped in a tea towel works perfectly—for at least 10 minutes. This will help with both the pain and the swelling.
- Soothe the Itch: An over-the-counter antihistamine cream or tablet can make a real difference with the itching and inflammation.
Most importantly, you must watch for signs of a severe allergic reaction, known as anaphylaxis. If you or the person stung has difficulty breathing, starts wheezing, has swelling of the face or throat, or feels dizzy, seek emergency medical help immediately.
If you're facing a wasp problem and need a guaranteed, safe solution, the experts at Pest Predators Limited are here to help. Our biologist-led approach ensures effective removal and long-term prevention. Contact us for a consultation.